How to Create a Technical Drawing?
Sketching vs. CAD
Ah, the age-old debate: manual sketching or Computer-Aided Design (CAD)? Both have their merits, but let’s be honest: CAD is often the faster and more reliable choice in a world where time is money. However, wait to write off sketching; it’s still a fantastic tool for conceptualizing ideas.
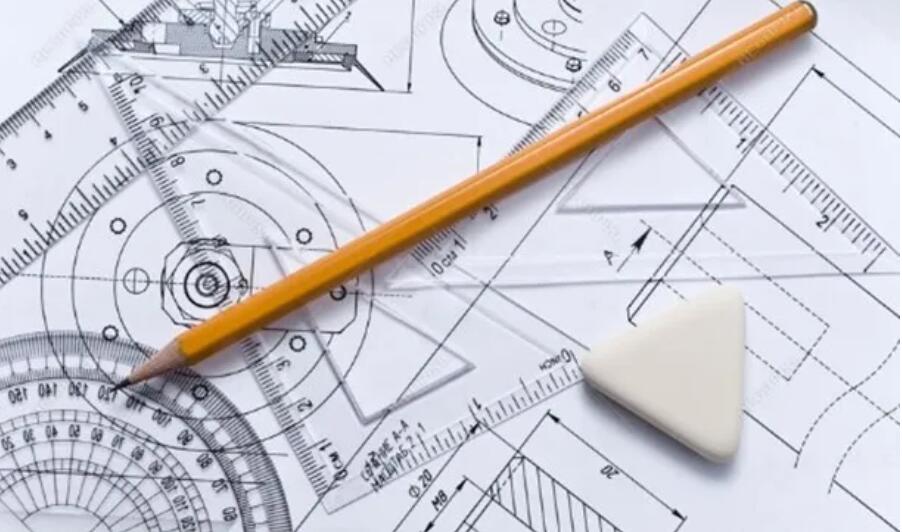
In the early days, manual sketching was the go-to method for drafting technical drawings. These sketches were crafted with meticulous attention to detail, often using tools like T-squares, compasses, and protractors. The charm and tactile experience of drawing by hand is unparalleled but, let’s face it, not the most efficient. Errors are frequent, and changes could be more convenient.
Enter CAD, the modern answer to all these challenges. The transition from sketching to CAD wasn’t just a technological leap but a paradigm shift. CAD software allows for rapid iterations, precision, and, most importantly, easy modifications. Plus, the added benefit of 3D modeling gives a far more comprehensive view of your project than a 2D sketch ever could. In sectors like aerospace, medical devices, and indeed, in our world of CNC machining, CAD is indispensable.
For a closer look at this transition and its impact on technical drawings, you might find our report, From Sketch to Screen: The Evolution of Technical Drawings, particularly enlightening.
So, should you go for sketching or CAD? Well, it’s not an either-or question. Initial sketches can provide a quick way to jot down ideas and brainstorm, while CAD can turn those ideas into viable, precise, and shareable designs. The future of technical drawing is not a tug-of-war between the past and the present; it’s an amalgamation of both.
Essential Tools and Software
When diving into the intricate world of technical drawings, the right set of tools can make or break your project. In today’s modern landscape, CAD software is king, but other hardware and accessories also play pivotal roles in streamlining the process.
Here’s a tabulated overview of essential tools and software for your convenience:
| Tool Category |
Popular Choices |
Usage Context |
Recommended For |
| CAD Software |
AutoCAD |
General 2D and 3D modeling |
Engineers, architects |
| SolidWorks |
Mechanical design, 3D modeling |
Mechanical engineers, manufacturers |
| CATIA |
3D CAD design, highly specialized |
Aerospace, automotive sectors |
| SketchUp |
Architectural and interior design |
Architects, interior designers |
| Fusion 360 |
Integrated CAD, CAM, and CAE |
Small to mid-sized businesses |
| Digitizer Tablets |
Wacom Tablets |
Tactile drawing experience |
Designers, artists |
| 3D Mice |
3Dconnexion SpaceMouse |
Navigate 3D models |
3D designers, engineers |
| High-Resolution Monitors |
Dell Ultrasharp, Apple Pro Display XDR |
Clear visual output |
Anyone working on detailed designs |
| Laser Scanners |
Faro, Hexagon |
Reverse engineering, quality assurance |
Manufacturers, quality control experts |
For a more detailed analysis of each tool’s pros and cons, refer to our in-depth guide, Choosing the Right Tools for Technical Drawings.
Steps in Making a Technical Drawing
Creating a technical drawing isn’t just about sitting down and drafting. It’s a meticulous process that involves multiple steps, each crucial in its own right. Here’s how to go from a blank canvas to a detailed, accurate technical drawing that can be used in any professional setting.
Step 1: Conceptualize the Design
Before thinking about drawing, understand what you’re trying to create. Are you designing a mechanical part? An electrical layout? Knowing your end goal will guide the entire process. Often, this stage involves rough sketches or brainstorming sessions.
Step 2: Select the Right Tools
Choose the CAD software or manual drawing tools that best fit your project’s needs. The tools should offer the necessary features for your specific type of technical drawing.
Step 3: Set Up the Drawing Environment
Whether setting the scale in a CAD program or choosing the right type of paper for manual drawing, setting up your environment correctly is crucial for accuracy.
Step 4: Draft the Basic Outline
Start with the foundational elements of your drawing. This could be the basic shape of a mechanical part or the main lines in an architectural plan. Make sure these are drawn to scale.
Step 5: Add Details
Dimensions
When it comes to dimensions, there are several vital elements to consider. The first is units of measure. Are you working in metric or imperial units? This decision will affect everything from the drawing scale to the dimensions themselves.
Also, keep in mind dimensional tolerances. This specifies the allowable variation for the dimension. For example, a rod that needs to be 10mm in diameter might have a patience of +/- 0.01mm. This tight tolerance ensures the part will fit strictly as intended in the final assembly. Manufacturers rely on this level of detail to understand how precise the fabrication needs to be.
Moreover, there’s the dimensional chain. It’s not enough to specify the dimensions of individual parts; you need to indicate how they relate. For example, in a complex assembly, you might need to fix that Hole A should be exactly 100mm from the edge, but also that Hole B should be exactly 50mm from Hole A. These are called relational dimensions, and they’re crucial for intricate assemblies.
Annotations
Annotations are more than just side notes; they’re an integral part of the drawing. These should be written in a standardized format as per industry norms. Special attention must be given to the font size and style so that they are easily readable yet unobtrusive.
Annotations should explain what a part is and how it interacts with other factors. Is it welded? Bolted? Does it need to be removable, or is it permanently affixed? This kind of information can be vital during the assembly process.
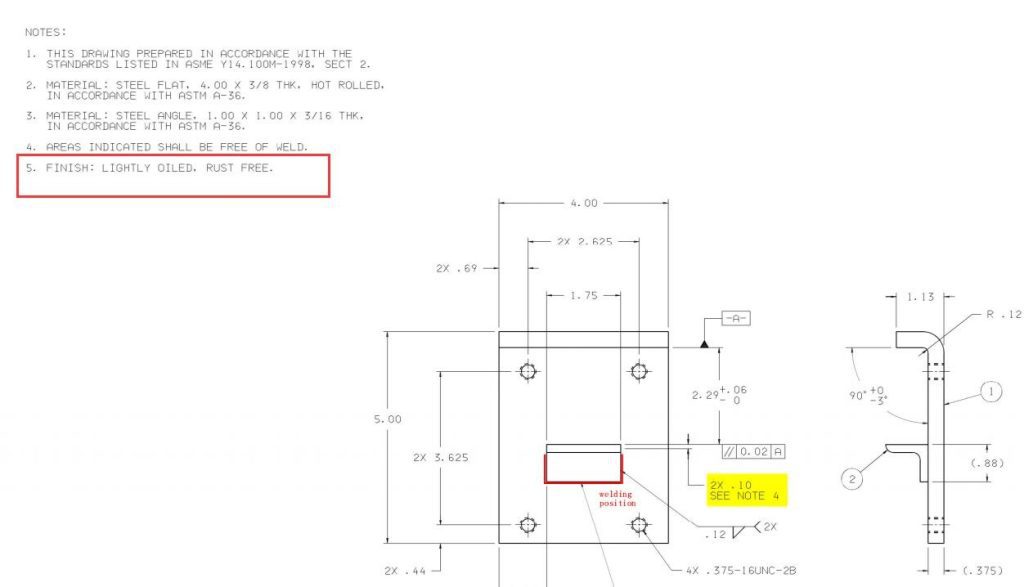
Additionally, material specifications should be annotated. The materials from which a part is made can have significant implications for its strength, weight, cost, and manufacturability. For example, specifying that a part should be made from 316L stainless steel as opposed to generic stainless steel could be critical for applications that require resistance to chemical corrosion.
Geometric Tolerances
Geometric tolerances are critical in defining how individual parts will fit and function within an assembly. These are conveyed through Geometric Dimensioning and Tolerancing (GD&T) symbols. The symbols are a standardized way to communicate complex geometric tolerances in a concise manner.
For example, you may use the ‘Flatness’ symbol to specify that a surface must lie within a specific flatness range, ensuring that it will mate properly with other parts. Another commonly used GD&T symbol is ‘Concentricity,’ which ensures that one feature in part is centered with another. The application of these geometric tolerances will vary depending on the part’s intended function. Properly applied, geometric tolerances can significantly reduce manufacturing costs by allowing for more lenient dimensional tolerances where precision is not critical.
Callouts for Special Features
Callouts are precise annotations indicating special instructions or notes for a particular feature. They are often placed in a dotted or dashed box and point directly to the part they refer to.
For example, a callout might specify a proprietary or specialized surface treatment like anodizing or plating. It could also indicate a requirement for additional inspections or tests to be performed on a feature, such as a hardness test for a metal part that will be under heavy load. The nature and format of these callouts will often adhere to industry-specific standards. Please comply with these to ensure that parts are in specification and even usable.
Multiple Views and Cross-Sections
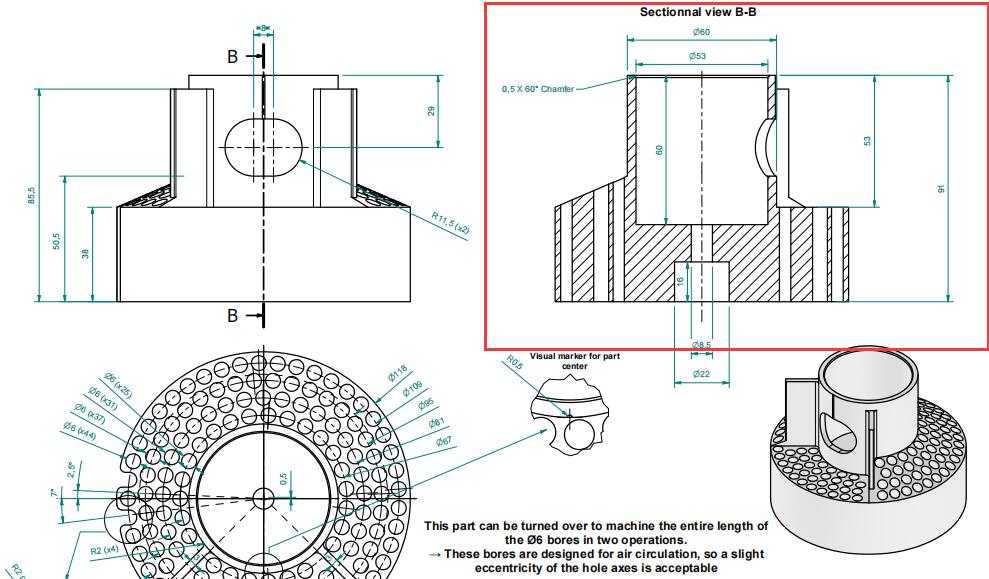
A single view is often insufficient for complex parts to capture all the necessary details. Multiple views like top, side, and isometric may be required in such cases. Cross-sectional views can also be invaluable for showing the internal features of a part.
In a cross-sectional view, imagine the part being cut in half along a particular plane and then displaying the “exposed” picture. This helps in understanding how the internal components align with the external features. The cross-section planes should be clearly labeled, and the view should include all the relevant dimensions and tolerances.
Revisions and Change Management
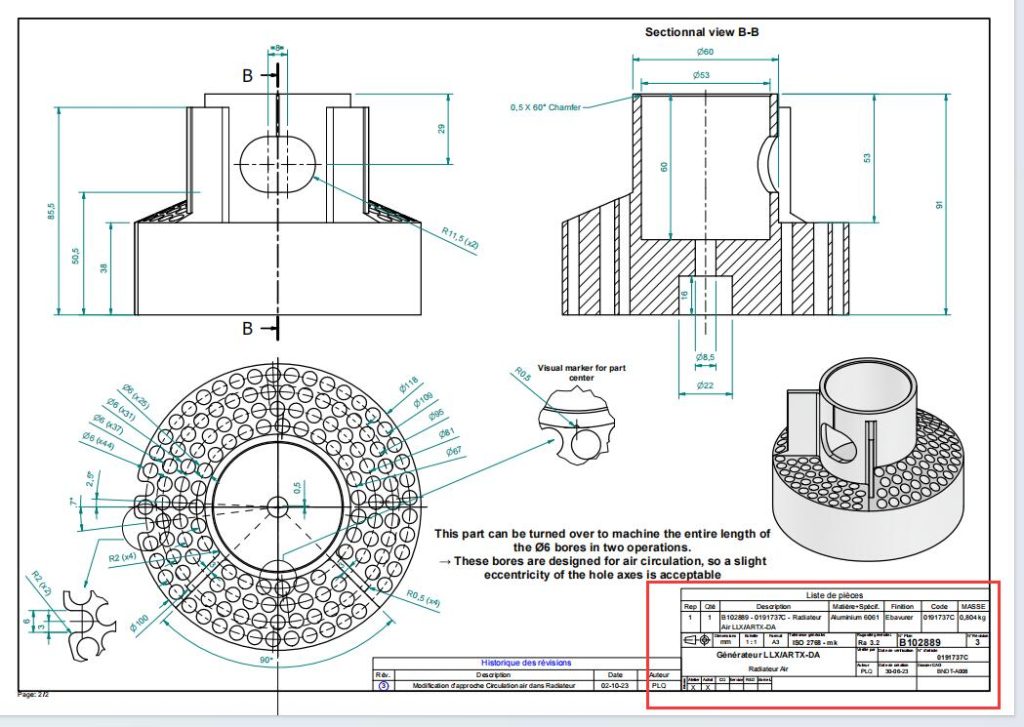
Lastly, a proper technical drawing often includes a revision block or table. This is used to track any changes made to the picture over its lifecycle. Each shift is usually accompanied by a revision number, date, and the name of the person who made the change. This is crucial for quality control and accountability.
Surface Finish Symbols


