What is precision “tolerance levels” can be achieved in CNC machining?
As a CNC manufacturing company, Worthy deal with CNC machining every day, and the machining accuracy has a deep impression, but you are used to express the accuracy of the "tolerance level" understanding?
The tolerance level refers to the level to determine the accuracy of dimension, which is divided into 20 grades according to the national standard, from IT01, IT0, IT1, IT2 ~ IT18. The larger the number is, the lower the tolerance level (machining accuracy) is, and the larger the allowable range of dimension (tolerance value) is, the smaller the processing difficulty is.
Product parts according to the function of the different, the need to achieve different processing precision, the choice of processing form and processing technology is also different.This paper introduces the machining precision which can be achieved by several common machining forms such as turning, milling, planing, grinding, drilling and boring.
1.The turning
A cutting process in which the workpiece is rotated and the turning tool moves in a straight or curved line in a plane.Turning is generally carried out on lathes, used to process the inner and outer cylinder, end face, cone face, forming face and thread of the workpiece.
The turning precision is generally IT8~IT7, and the surface roughness is 1.6~0.8 m.
1) The roughing machine strives to improve the turning efficiency by adopting large cutting depth and large feed under the condition of not reducing the cutting speed, but the machining accuracy can only reach IT11, and the surface roughness is R 20~10 m.
2) Semi-Finishing and finishing cars should adopt high speed and small feed and cutting depth as far as possible, with machining accuracy up to IT10~IT7 and surface roughness of R 10~0.16 m.
3) The diamond turning tool is used to refine non-ferrous metal parts at high speed on the high-precision lathe. The machining precision can reach IT7~IT5, and the surface roughness is R 0.04~0.01 m. This kind of turning is called "mirror turning".

2.The milling
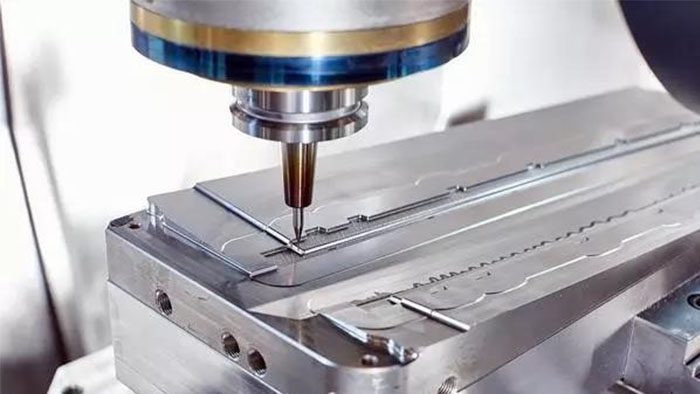
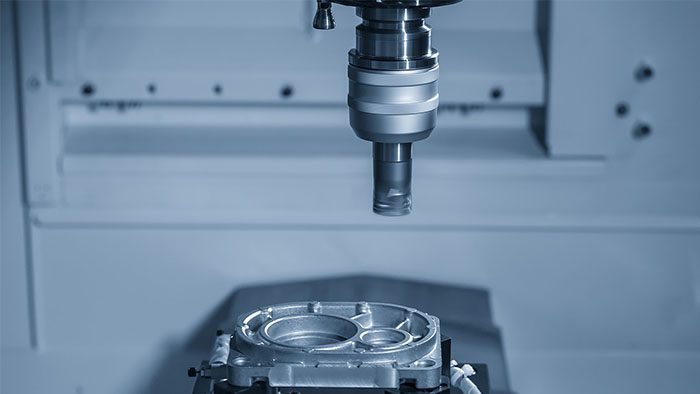
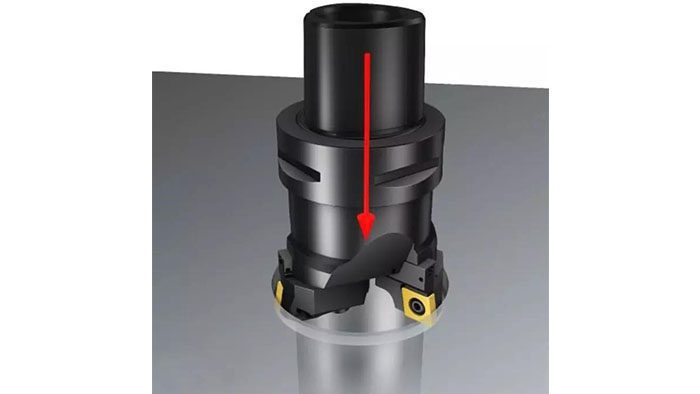
Milling refers to the use of rotating multi - edge tool cutting workpiece, is a highly efficient processing method.Suitable for machining planes, grooves, various shaped surfaces (such as splines, gears and threads) and special shape surfaces of molds, etc.According to the direction of the main motion speed and workpiece feeding direction of the same or opposite, and divided into down milling and back milling.
The machining accuracy of milling is generally up to IT8~IT7, and the surface roughness is 6.3~1.6 m.
1) the processing precision of IT11~IT13 and the surface roughness of 5~20 m during rough milling.
2) The processing precision of IT8~IT11 and the surface roughness of 2.5~10 m during semi-finishing milling.
3) Precision of IT16~IT8 and surface roughness of 0.63~5 m during precision milling.

3. The planing
Planing is a cutting method in which the plane tool is used to reciprocate the workpiece in a horizontal relative straight line.
The machining accuracy is generally up to IT9~IT7, and the surface roughness is Ra6.3~1.6 m.
1) The roughing precision is up to IT12~IT11, and the surface roughness is 25~12.5 m.
2) The semi-finishing machining accuracy is up to IT10~IT9, and the surface roughness is 6.2~3.2 m.
3) The precision of finishing machining is up to IT8~IT7, and the surface roughness is 3.2~1.6 m.
4. The grinding
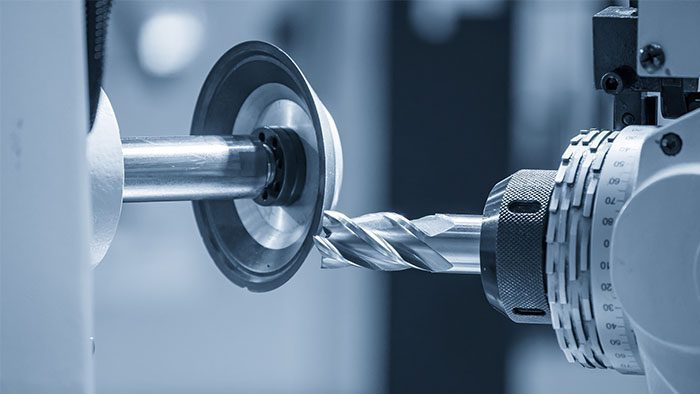
Grinding refers to the use of abrasives, abrasives to remove excess material on the workpiece processing method, belongs to the fine processing in the machinery manufacturing industry is widely used.
Grinding is usually used for semi-finishing and finishing, the precision can reach IT8~IT5 or even higher, the surface roughness is generally 1.25~0.16 m.
1) Precision grinding surface roughness is 0.16~0.04 m.
2) Ultra-precision grinding surface roughness: 0.04~0.01 m.
3) Mirror grinding surface roughness up to less than 0.01 m.

5. The drilling
Drilling is a basic method of hole machining, often done on drilling machines and lathes, but also on boring or milling machines.
The machining accuracy of drilling is low, generally only up to IT10, and the surface roughness is generally 12.5~6.3 m. After drilling, reaming and reaming are often used for semi-finishing and finishing.

6. The boring
Boring is a tool to enlarge the hole or other circular contour of the inner diameter of the cutting process, its application range is generally from semi-rough machining to finishing, the tool used is usually a single edge boring tool (called boring bar).
1) The boring accuracy of iron and steel materials is generally up to IT9~IT7, and the surface roughness is 2.5~0.16 m.
2) Precision boring can reach IT7~IT6 with surface roughness of 0.63~0.08 m.

Worthy Hardware is a CNC manufacturing and sheet metal fabrication company,including CNC machining services,CNC milling services, CNC turning services, laser cutting services and stamping services.Call us +86-76989919645 or email us [email protected] for more discounts for your projects.

